Written by Sanne
Edited on
6 February 2023
·
07:57
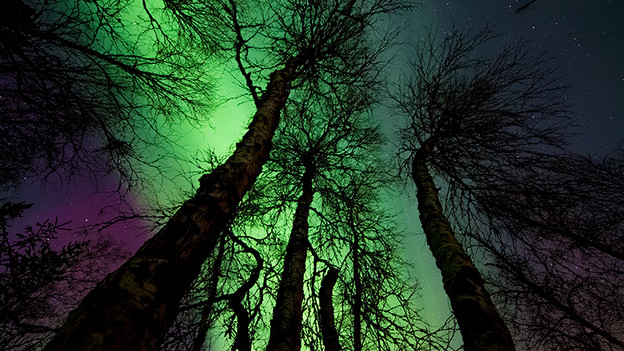
Tips for making the best Aurora Borealis photo
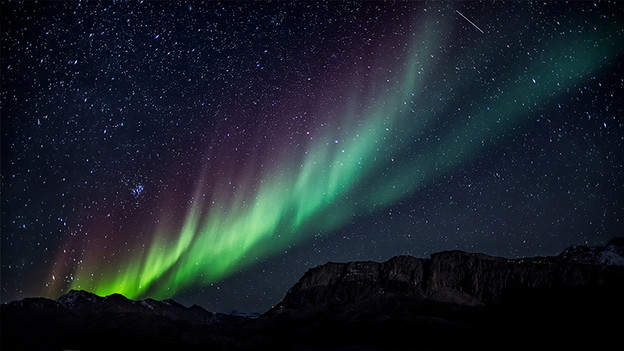
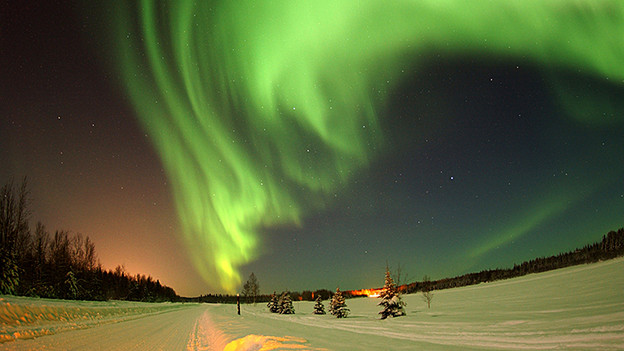
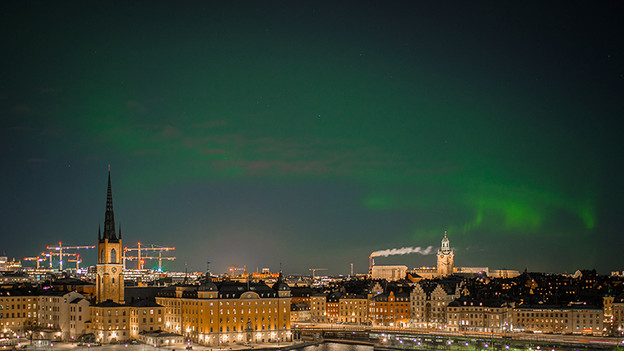
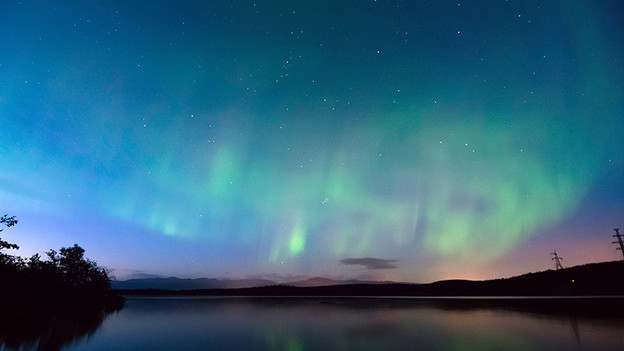
The northern lights are perhaps one of the most extraordinary natural phenomena on earth. If you're in a destination where you can see this beautiful light show, you of course want to take a picture of it. But that 's not so easy. Don't panic, these tips will help you make the best photo.
Tip 1: use a slow shutter speed
The northern lights look best in photos where a slower shutter speed was used. Set your camera to manual mode. Choose a shutter speed of about 15-25 seconds. Which one you use depends on the light intensity of the northern lights. Longer than 25 seconds isn't recommended, because the stars will become blurred. Always use a tripod when using a longer shutter speed. This prevents motion blur. Turn off the image stabilizer, because its movements also cause blur.
Tip 2: take photos with with a large aperture
It'll be dark out when you go to photograph this special phenomenon. To capture as much of the northern lights as possible with your camera, use a large aperture. Choose an aperture of between f2.8 and f5.6. Again, this choice depends on the light intensity of the northern lights. Do a few rounds of testing to see which aperture size gives the best results.
Tip 3: be careful with a high ISO value
Basically, you always want to keep the ISO value as low as possible. This is because it tends to create noise in your photo. Try to use the lowest ISO possible in this situation too. Only change the ISO when your picture with a slow shutter speed and large aperture still isn't bright enough. With some cameras, noise appears very late. See how your camera reacts to higher ISO values.
Tip 4: turn off the autofocus, focus manually
In dark situations, most cameras have trouble focusing automatically. To prevent your northern lights photos from being out of focus, use manual focus. Turn the lens ring until your image is in focus. Check whether this worked by using the live view to zoom in on a planet, for example. Adjust the focus until everything is completely in focus and don't touch the lens ring anymore. Then take the photo via the self-timer, remote, or app.
Tip 5: take photos in RAW format
Photographers who are good with editing programs should take photos in RAW format. A photo in RAW format contains much more information about the image than a JPEG photo. This makes it easier to make small adjustments on the computer afterwards to perfect the image. Keep in mind that overexposed is better than underexposed. It's easier to darken light areas than to bring back light in a photo.