Written by Elaine
Edited on
15 November 2024
·
11:09
How do you install the BlueBuilt USB 3.0 hub 7 ports?
You've bought a 7-port BlueBuilt USB 3.0 hub and want to connect it to your laptop. On this page, you can read how to do this in 3 steps.
Set up BlueBuilt USB hub in 3 steps
In this article, you can read how to set up your BlueBuilt USB hub in 3 steps.
-
Step 1. Connect the USB hub to your laptop
-
Step 2. Connect your peripherals
-
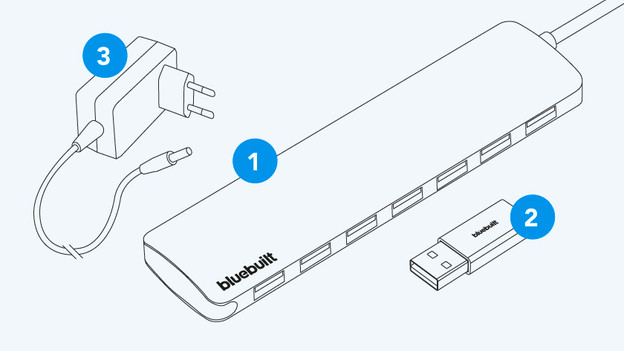
Step 3. Connect your laptop charger The BlueBuilt USB 3.0 hub 7 ports has the following ports:
-
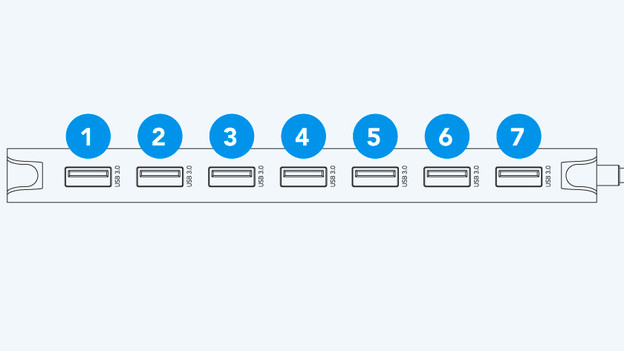
1 - 7: USB-A
-
8: USB-C with Power Delivery
-
9: LED function indicator
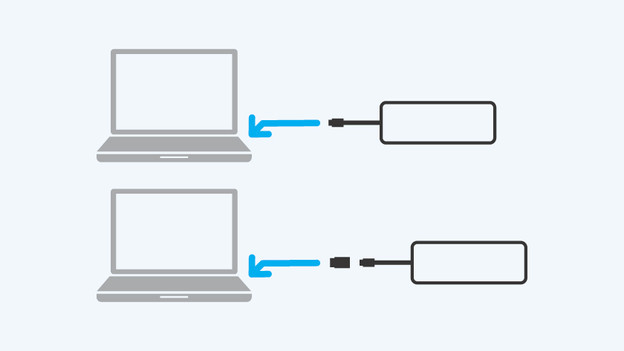
Step 1: connect the USB hub to your laptop
Connect the BlueBuilt USB hub to the USB-C port on your laptop.
Does your laptop have a USB-A port? Connect the included USB-C to USB-A adapter to the USB-C cable first. Then, connect the USB hub to the USB-A port on your laptop.
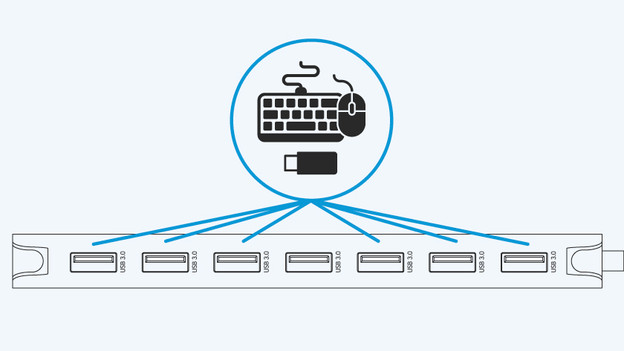
Step 2: connect your peripherals
You can use the 7 USB-A ports to connect your peripherals, such as a mouse, keyboard, wired webcam, and USB flash drive.
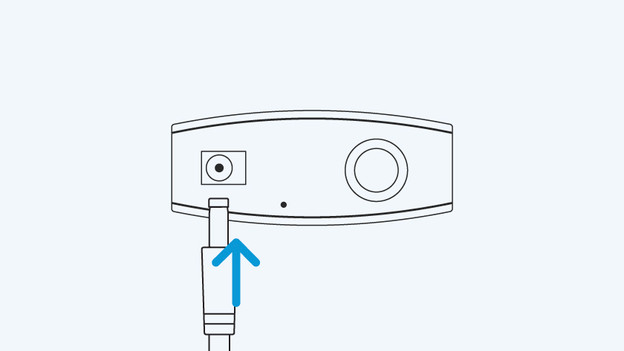
Step 3: connect your laptop charger
Does your laptop support Power Delivery or Thunderbolt 3? The USB hub automatically charges your laptop while you work. You don't have to do anything else. Check the manual of your laptop to find out if your laptop supports this.
Doesn't your laptop support Power Delivery or Thunderbolt 3? Connect a USB-C charger to the hub.
Your BlueBuilt USB 3.0 hub 7 ports has now been set up.