Written by Sanne
Edited on
21 March 2023
·
08:33
Tips for taking the best food photo
After hours in the kitchen, you want to capture the dish you prepared the best way possible for your audience. But how do you take the best food photo? In this article, you'll find 6 tips that can help you with this. That way, you can have your entire Instagram covered in beautiful photos that make you want to lick your fingers.
Get started with food photography
With these tips, you can easily take the most delicious food photos.
Tip 1: use a polarization filter
Tip 2: make your food appetizing with tricks
Tip 3: use a complementary color
Tip 4: use a soft natural light
Tip 5: use action in the photo
Tip 6: make the food look fresh
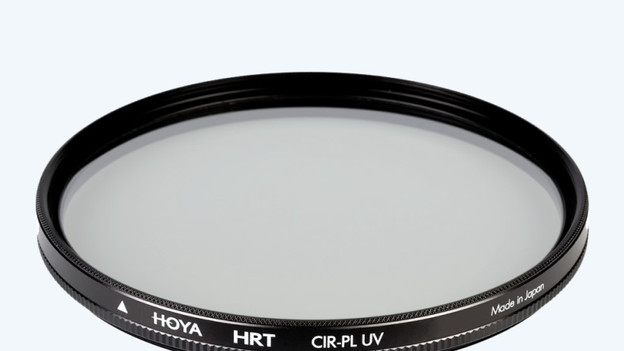
Tip 1: use a polarization filter
Glass and cutlery often reflect light from a lamp or your own camera, for example. This distracts from the subject in the photo. A polarization filter filters the reflections from the image. It also provides a natural color representation on your photo. This way, you food look appetizing. Keep in mind that the lens doesn't collect as much light with this filter. Use a tripod to take bright photos without motion blur.
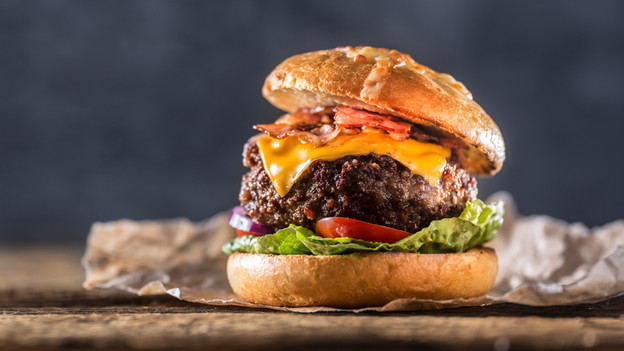
Tip 2: make your food appetizing with tricks
On a photo, you can't always see how tasty a meal is. A hamburger might fall apart and the garnish of your soup sinks to the bottom in no time. You can prevent that with some simple tricks. You can use a skewer to keep the ingredients of your hamburger together. When you take a photo of soup, you can put a small bowl upside down in the soup bowl. Make sure it's just covered by the soup. Place the garnish on this bowl, like herbs. This way, it won't sink to the bottom.
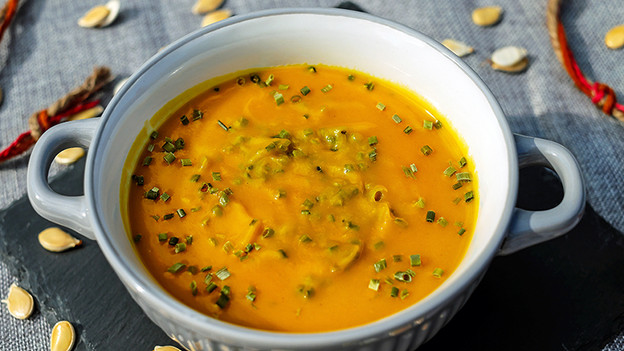
Tip 3: use a complementary color
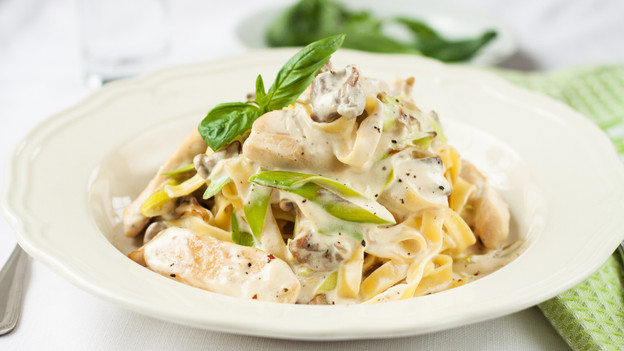
Color is important for food photography. The butcher also uses color to make food look more appetizing. The green paper that you often see in the cooling displays complements the color of the meat. This way, the color of the meat looks nicer. You can also use this trick in your food photos. Look for colors that complement the color of the food that you're taking a photo of. For example, use basil as garnish for a tomato soup, because red and green complement each other.
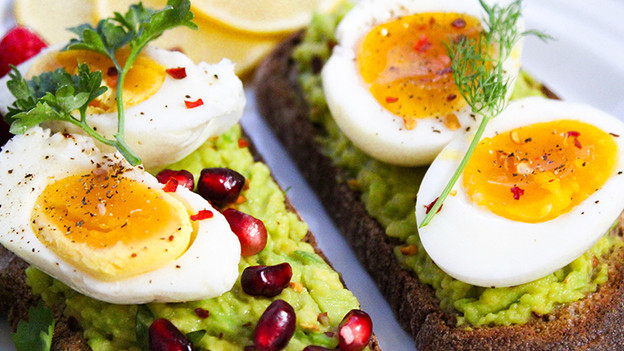
Tip 4: use a soft natural light
Make sure you use soft light for the photoshoot, so your food looks appetizing. Daylight gives the photo a nice natural effect. If there's little light in the room, you can use a softbox. Never use the built-in flash of your camera. The flash makes the food look unappetizing. Some light from the side also has a nice effect on photos. This way, you can clearly see the texture of the food. Too much light is always better than too little. Overexposure makes food look extra fresh and clean.
Tip 5: use action in the photo
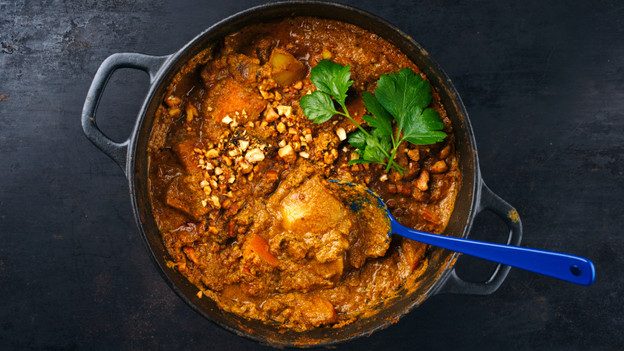
A good décor is the finishing touch to the composition. Are you taking photos of a dish? Put some ingredients around it. Or use some herbs or a sauce to garnish the dish. Action also works really well with food photography. Cut a piece of cake beforehand or put a spoon in the dip that you want to photograph. This makes the photo more playful. If people see your photo, they get excited for your dish right away.
Tip 6: make your food look fresh
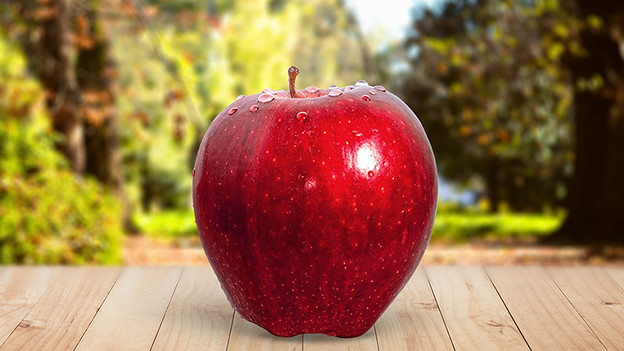
Fresh food looks appetizing. If you have a long photo shoot, the food cools down and it looks less fresh. Cooked meat looks dry when it cools down, for example. That's why meat looks more appetizing when you cover it with oil or butter at the last moment. This way, it looks like it just came from the pan. Spray fruit and vegetables with water before you take the photo. This makes them look fresh and crunchy.
Article by Sanne
Camera Expert.