Written by Sanne
Edited on
15 August 2025
·
16:03
Getting started with the Canon EOS 2000D
You would like to take a picture with your new Canon EOS 2000D. You just have no idea how you use the camera. Do not panic. This handy step-by-step guide guides you through. That way you learn how to make the device ready for use and photograph it for the first time.
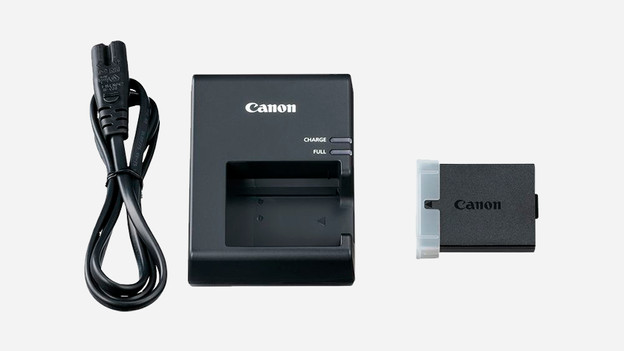
Step 1: insert the battery into the camera
Usually there is still a little tension in the battery, so you can use it immediately. Do you want to be sure of a full battery? Charge it completely before use. You insert the battery into the camera by opening the cover on the bottom of the device. There are contact points on the battery, place these on the contact points that you also see in the camera. Press the battery slightly until you hear a click.
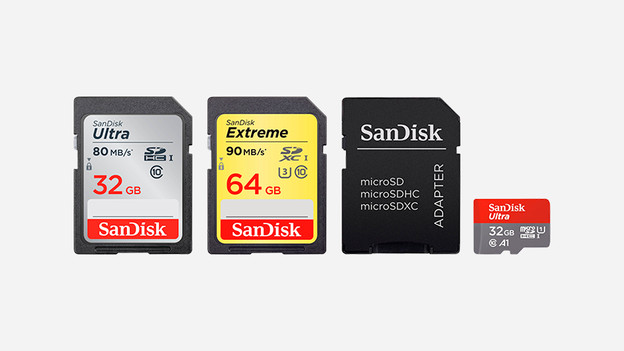
Step 2: slide the memory card into the camera
In addition to a battery, your camera also needs a memory card. Otherwise it will not work to take pictures and videos. The opening for a memory card is next to where you just placed the battery. Make sure the front of the SD card is facing the front of the camera. Push the card slightly until you are sure that it is in it. Then close the cover again.
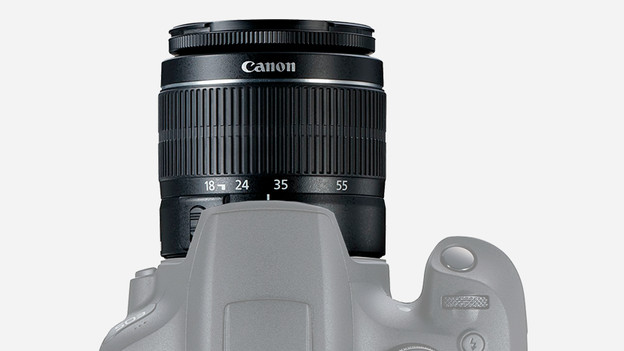
Step 3: place the lens on the camera
If you take the camera out of the box, the lens is not there yet. First remove the cap from the body and place the appliance with the opening downwards on the table, so that dust does not enter. Then you take the rear lens cap off the lens. You will find a white dot on both the lens and the body. Put the white dots together and turn the parts together until you hear a click.
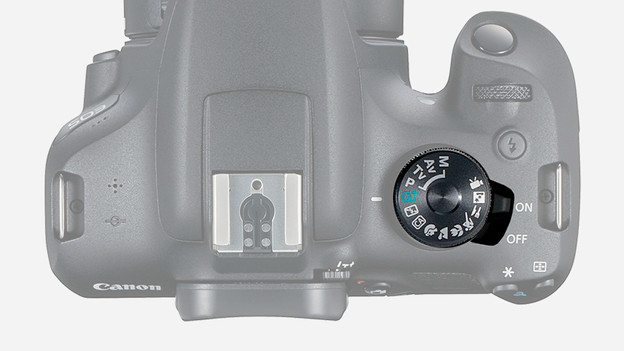
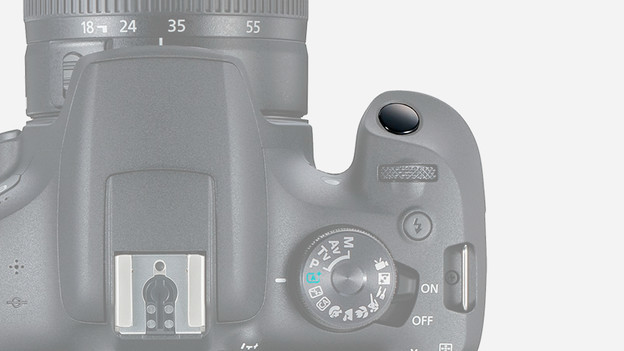
Step 4: Turn the camera on in the correct mode
On the top of the camera, to the left of the turning wheel, you will find the power-on button. Set this button to 'on' to get started with the camera. Turn the dial to select the desired mode. For convenience, select the automatic mode with the green 'A +'. This mode is selected as the icon next to the white bar, to the left of the jog wheel.
Step 5: make your first photo now
Now that you have made the camera ready for use, it's time to take a picture. The button with which you take a picture can be found on top of the device at the front. First press it halfway to focus. As soon as the image is sharp, you will hear a sound. To take the photo, push the button all the way. You view your recording by clicking on the blue square, with a triangle in it, to the right of the screen.
Step 6: store the camera well
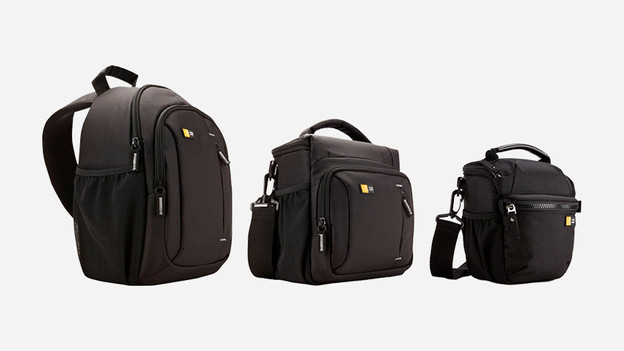
Nice, you managed to take a picture. You want to store the camera. Turn the device off first by setting the power on / off to 'off'. If you leave the battery in the device, it will always use some power. Always remove the battery from your camera when you are not using it. This way the battery lasts longer. Store the camera safely in a camera bag or cover.
Article by Sanne
Camera Expert.