
Written by Jan
Edited on
14 September 2022
·
07:35
How do you set up your Chromebook?
You bought a new Chromebook and you're about to switch it on for the first time. In this article, we'll explain which steps you need to follow to set up your Chromebook the first time you use it. This way, you can quickly start browsing, typing, and watching movies.
Preparation
Before turning on the Chromebook, make sure the following is in order:
- The charger is connected to your Chromebook. You have access to a WiFi network nearby.
- You have the login details for the WiFi network.
- The login details of your Google account. Don't have a Google account? Create one during the setup.
Steps
In this article, we'll discuss the following steps:
- Language settings and internet connection.
- Set up WiFi.
- Accept Terms and Conditions.
- Log in.
- Get started.

Step 1: language settings and internet connection
Press the power button on your new Chromebook to launch Chrome OS. After that, you'll see a welcome window asking for language, keyboard settings, and your WiFi network. Do the following:
- Click the language on the bottom left to change your Chromebook's language.
- If necessary, click Accessibility to adjust the text size and input method, if necessary.
- Click Get started.
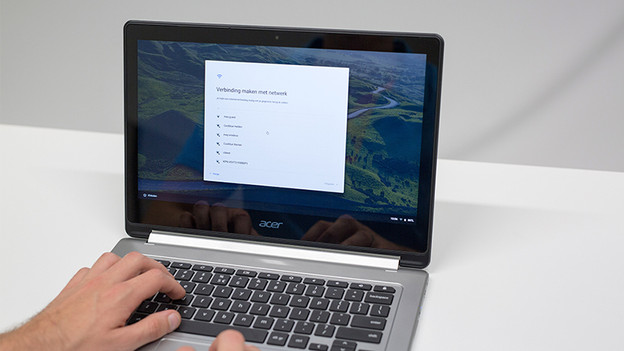
Step 2: connect to your network
In this step, you'll see a list of WiFi networks in the area. Click the network you want to use. Do you have a password-protected WiFi network? Make sure to enter the corresponding password to connect. Click Connect.
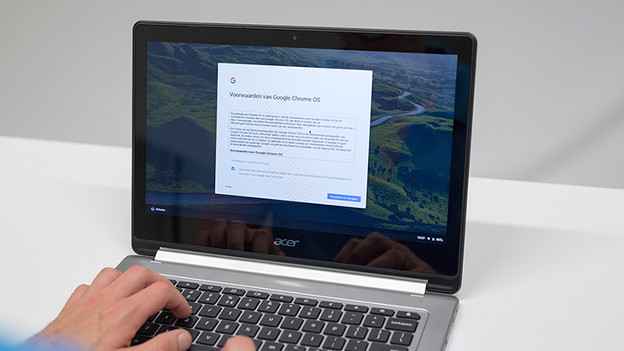
Step 3: the general Terms and Conditions
In the next window, you'll get to read the 'fine print', which you have to agree to before you can use the Chromebook. Read them carefully and check the corresponding box if you want to send error messages and usage data to Google. Click Accept and continue. The Chromebook will now check for updates.

Step 4: log in with your Google account
In the next window, log in with your Google account. With this account, you can log in to the Chromebook. everything you do on your Chromebook is stored in the cloud, so you'll never lose files or settings. Enter your e-mail address and click Next. Enter the corresponding password and click Enter. Don't have a Google account yet? Click More options in the login screen to create a new account.
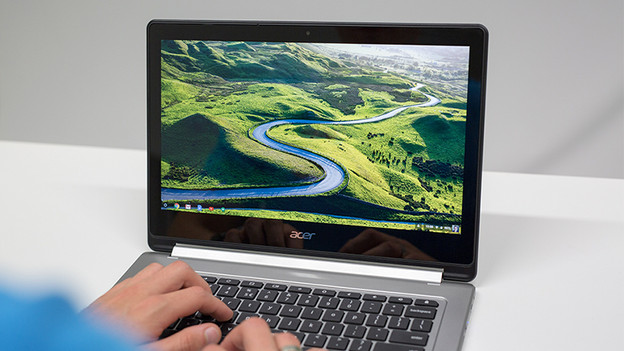
Step 5: get started
You've completed the setup of your Chromebook, so you can get started on checking your email and browsing the internet. You can also start a 'tour' in the next window, which explains the basics of your Chromebook. Grab a cup of coffee or tea and enjoy your new Chromebook.
Article by Jan
Laptop Expert.
