Written by Caitlin
Edited on
28 January 2025
·
08:54
How do you connect a gas cooktop?
Connecting a cooktop or stove to a gas connection is certainly not a difficult task, but it's a job that requires some extra attention. After all, a leaking connection is very dangerous. Below, you can read how you safely connect your cooktop or stove. Connecting a gas cooktop or gas stove yourself is always at your own risk.
Before you start
Connecting gas is always at your own risk. If you're not that handy or you want to be sure it's connected properly, let someone with experience do it. If you want to get started yourself, follow these steps:
- Step 1: choose a stainless steel gas hose
- Step 2: close the gas valve
- Step 3: place a gas connector
- Step 4: attach the gas hose
- Step 5: connect the gas hose to the gas valve
- Step 6: check for leaks
Step 1: make sure you have the right gas hose
A stainless steel gas hose is required for built-in cooktops. In theory, you can use a rubber gas hose for a freestanding cooktop. We don't recommend that though. The heat from the cooktop dries out a rubber hose more quickly. You'll have to regularly check a rubber hose for leaks and replace it after 5 years. That's why you should choose a stainless steel gas hose for a freestanding cooktop.
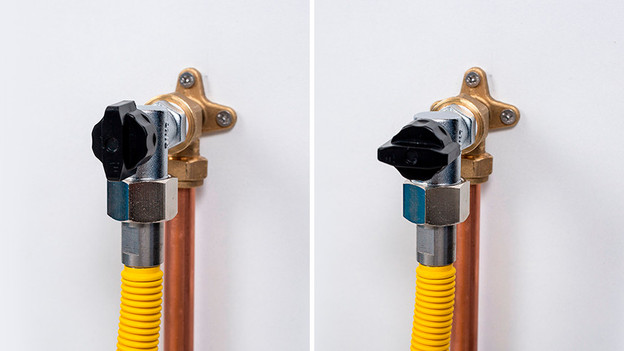
Step 2: close the gas valve
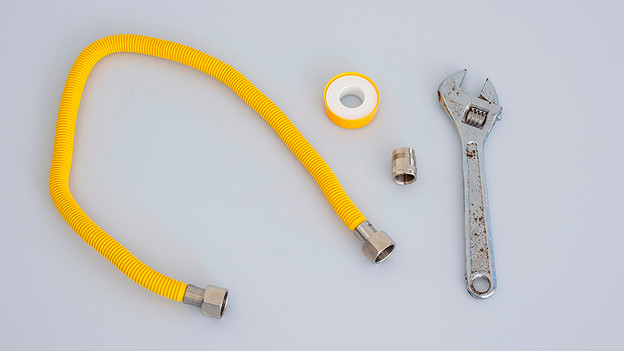
The gas valve is located in your kitchen, near the gas connection. Turn the valve perpendicular to the pipe. Is it closed properly? You can now follow the steps below. You'll need a gas connector, gas tape, and a wrench.
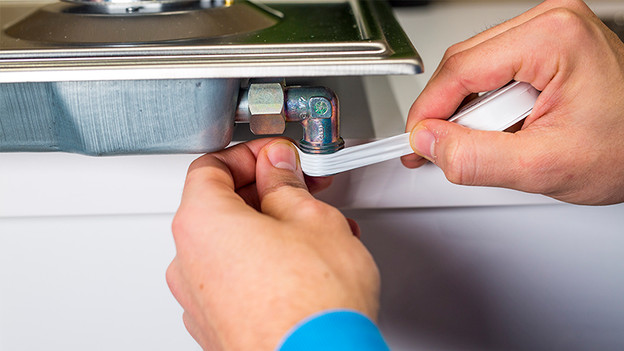
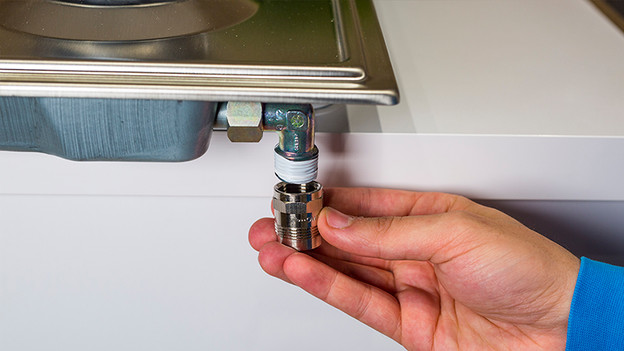
Step 3: place the gas connector
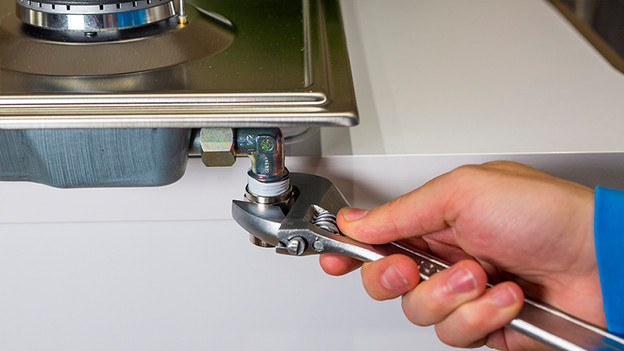
To make sure the connection is a good fit, you use a gas connector. Wind a layer of gas tape around the screw thread of your stove clockwise. Attach the gas connector to the screw thread and use a wrench for the last bit. Make sure it's secured in place, but don't force it.
Tape the end of the screw thread
Place the gas connector
Tighten the gas connector
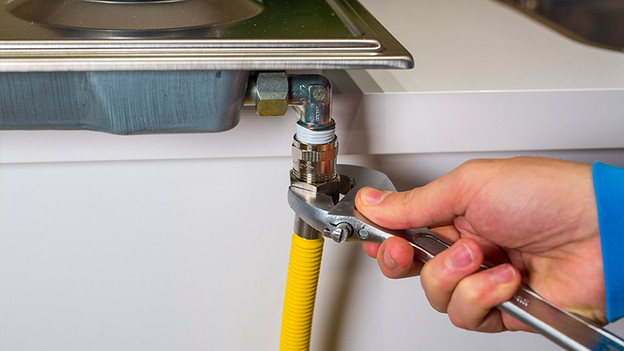
Step 4: Attach the gas hose
Attach the gas hose to the gas connector. Check whether your gas hose has a rubber ring. If it doesn't, apply a layer of tape to the gas connector first. Apply the tape clockwise. Now screw on the gas hose. Does your hose have a rubber ring? You can attach the gas hose without gas tape.
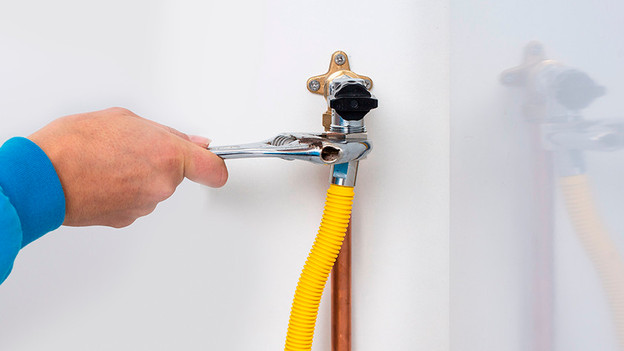
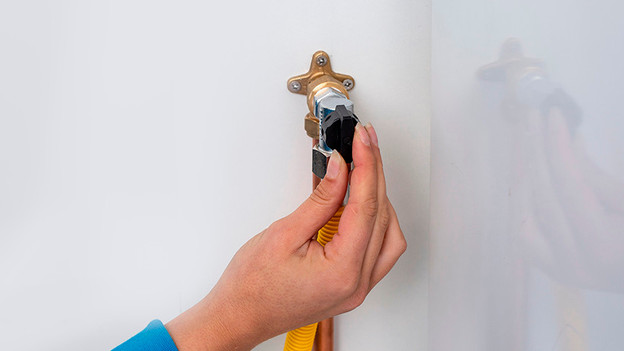
Step 5: tighten the gas hose on the gas valve
Finally, connect the gas hose to the gas connection in your kitchen. If your hose doesn't have a rubber ring, you can use the gas tape again. Apply a double layer of tape to the end of the gas valve. If you have a hose with a rubber ring, connect it without tape. Tighten the hose with the wrench.
Step 6: check for leaks
The gas hose is now attached to the gas valve and the cooktop. Before you get started with your brand new gas cooktop, you first have to check for leaks. Spread a mixture of soap and water on all connection points and carefully open the gas valve. Do you see any bubbles? That means the connection isn't gas tight. Turn off the gas and repeat the steps until you don't see any bubbles.