
Written by Tim
Edited on
1 May 2023
·
13:07
How do you set up the macOS Mail app?
You have a new Apple MacBook, iMac, or Mac Mini and you want to get started with it as soon as possible. After the installation of macOS, it's time to set up your email so you're up to date on your new Apple appliance. Here, we explain how to set up your email in macOS in 2 steps.
Set up email in 2 steps
You have to go through a couple of steps to set up the Mail app on your MacBook, iMac, or Mac Mini:
- Step 1. Select provider
- Step 2. Log in with your:
- Google account
- Microsoft Exchange account
- IMAP email client
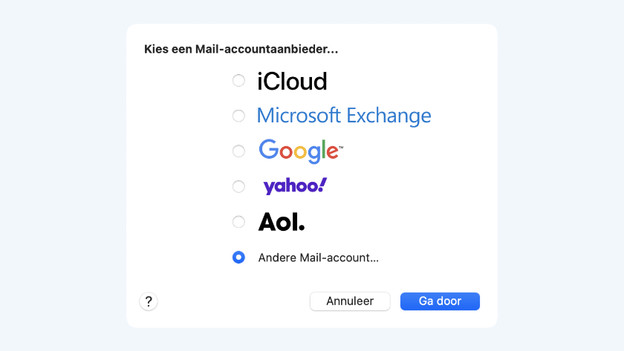
Step 1: select a provider
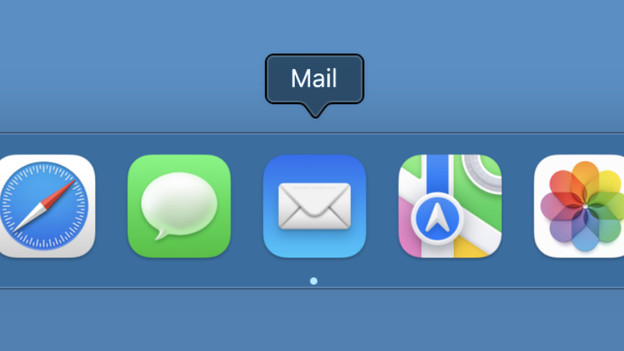
The Mail app can be found in the Dock at the bottom of your screen. In this app, you select the email provider you want to use:
- Open the Mail app.
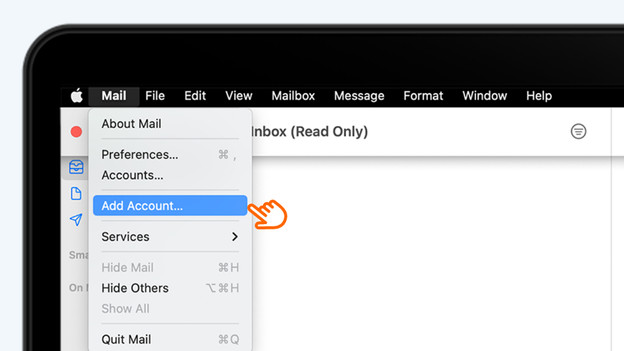
- Click Mail in the menu bar at the top of your screen.
- Click on Add account... in the menu that appears.
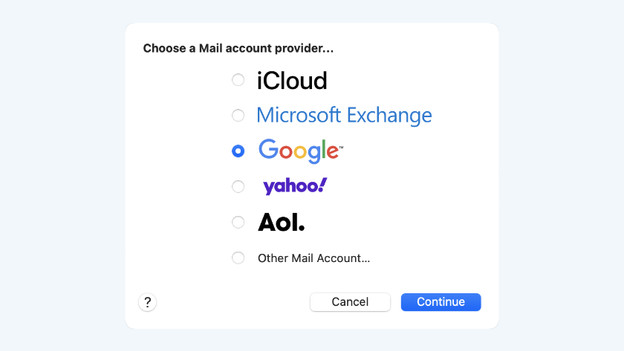
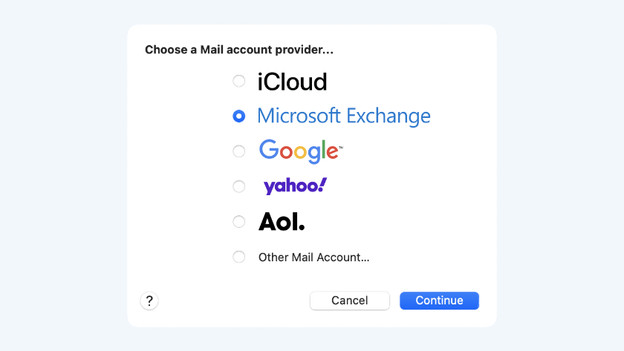
- Select your email account provider from the list. Is your provider not listed here? Select Other email account....
In the following paragraphs, we'll explain the steps for your Google account, your Microsoft account, and for an email provider via IMAP.
Step 2a: log in with your Google account
At step 1, you can read how to select your email provides. In this case, you select a Google account. Yahoo! and Aol work in a similar way.
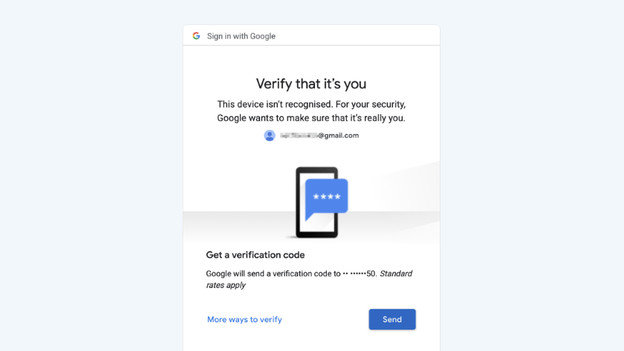
- A web page opens, log in with your Google account.
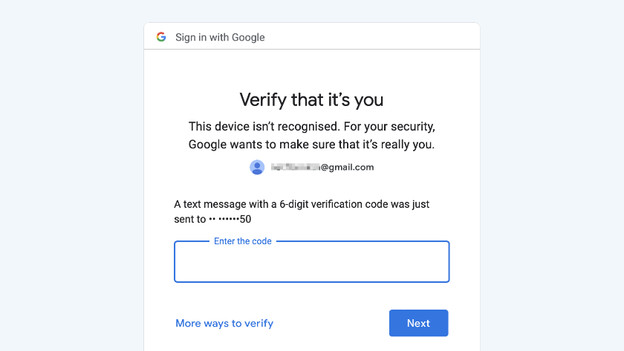
- If it's the first time you log in with a Google account on your Mac, Google will check if it's really you. We use an SMS code in the example, but this can also be done via a different email address.
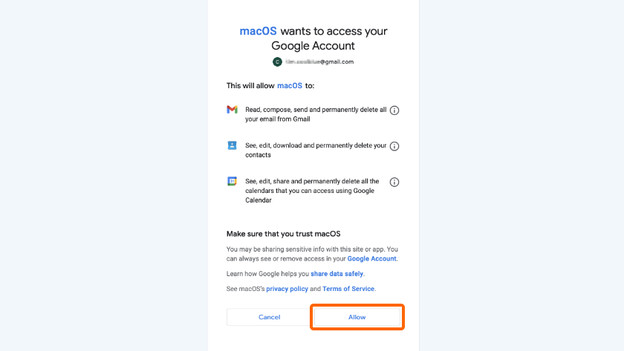
- If this worked, you allow Mac to use Google services.
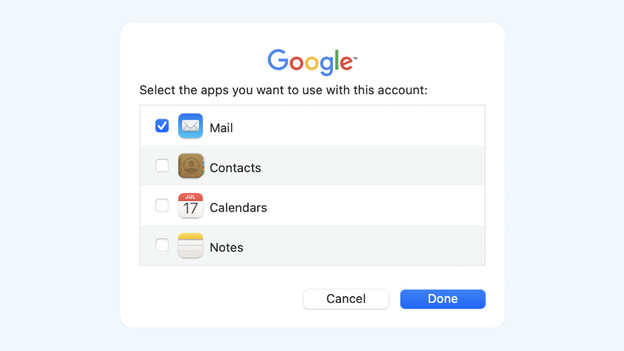
- In the last step, you select the program you want to link your Google account to.


Step 2b: log in with your Microsoft Exchange account
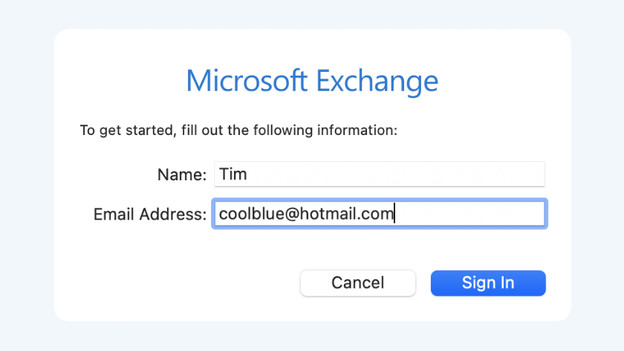
In the menu bar of the Mail, you clicked on Add account. You can now add your @hotmail, @live, @msn, @outlook, or @passport email address by selecting the option Microsoft Exchange.
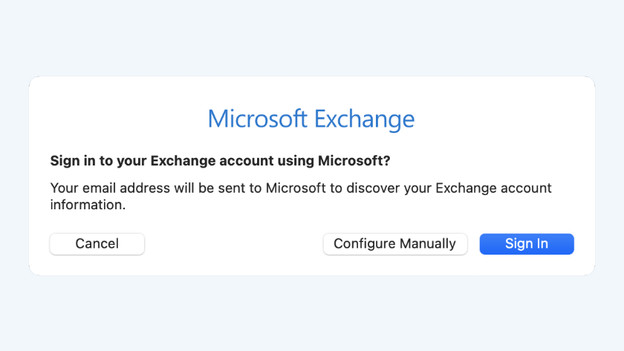
- A new window opens. Enter your email address here. In the next screen, you can choose to log in via the Microsoft web server or manually. In our example, we log in manually.
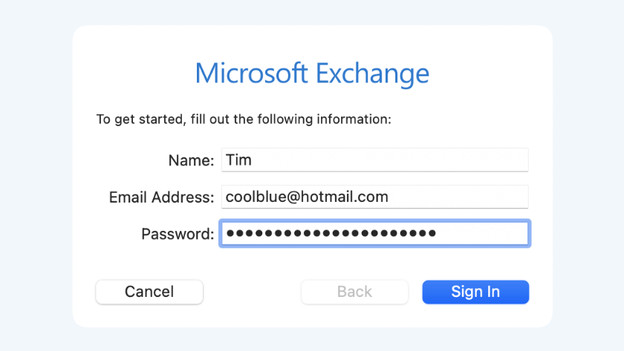
- Enter your password.
- If this is the first time you log in with a Microsoft Exchange account, a window appears to allow macOS to use Microsoft Exchange services.
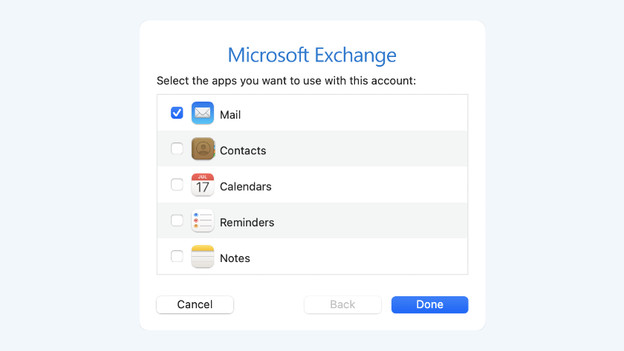
- Select the apps you want to link your Microsoft Exchange account to.
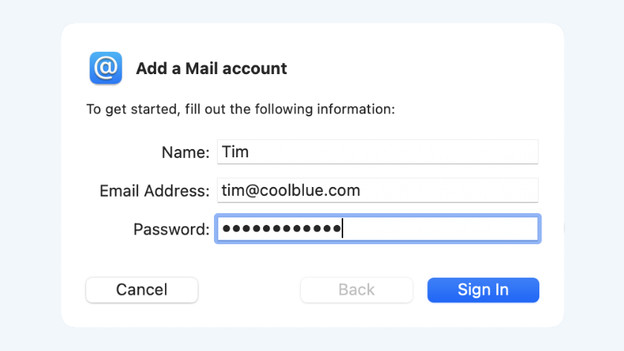
Step 2c: other email account
You use an email address from a provider that's not on the list. For example, one from your internet provider. If this is the case, select * Other email account*.
- Enter your email address and password.
- In the next window, you enter the account type (IMAP or POP3) and the servers for incoming and outgoing email. You can find this information on the website of your internet provider or check it with your email provider. Note: not every email provider allows the use of an email program.

Article by Tim
Apple Expert.
